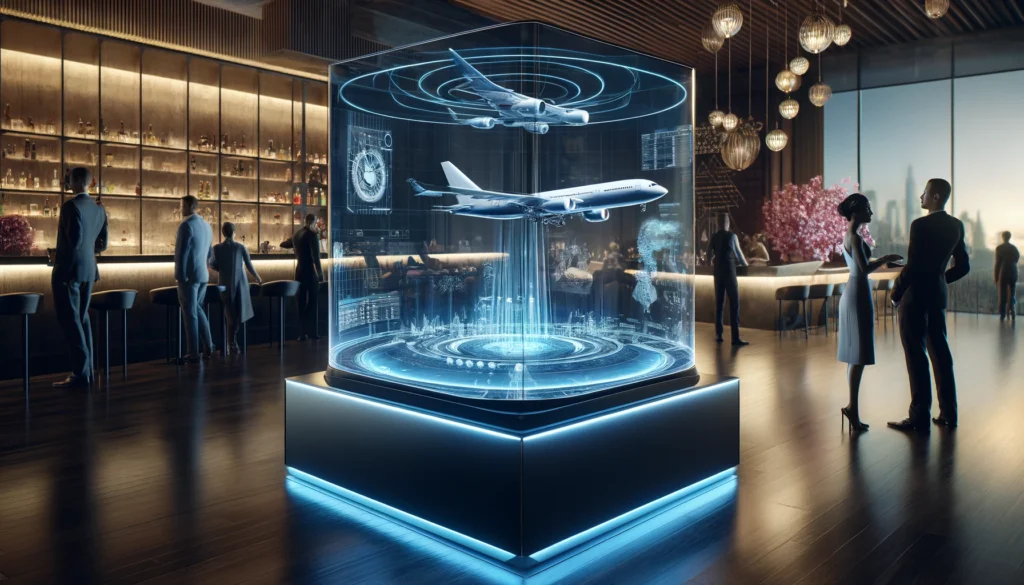
Creating a large 3D hologram display cabinet in your unit venue is an exciting project that can elevate the visual impact and engagement of your space. With advancements in holographic technology, it is now possible to project stunning 3D images that captivate audiences.
Understanding the Technology for Projecting Holograms into Cabinets
To create a 3D hologram display cabinet, understanding the underlying technology is essential. Holograms are created using light projection techniques that produce three-dimensional images in space.
Key Components:
- Holographic Projectors: Devices that project light in specific patterns to form 3D images.
- Reflective Surfaces: Transparent screens or mirrors that reflect the projected images.
- Software: Programs that manage the projection and synchronization of images.
Recommended Technology:
- Pepper’s Ghost Technique: Uses glass and light to create the illusion of floating images.
- Digital Light Processing (DLP): A technology that uses micro-mirrors to project digital images.
By integrating these components, you can achieve a high-quality holographic display that is both impressive and functional.
Steps to Making 3D Holograms Imaged in Air
Creating 3D holograms imaged in air involves several steps, from setting up the projection system to fine-tuning the display for optimal performance.
Step-by-Step Guide:
- Design the Cabinet: Plan the dimensions and structure of your display cabinet, ensuring it accommodates the holographic projector and reflective surfaces.
- Select the Projector: Choose a holographic projector that meets your size and resolution requirements.
- Install Reflective Surfaces: Position transparent screens or mirrors at the correct angles to reflect the projected images.
- Configure the Software: Use holographic projection software to manage the synchronization and display of 3D images.
- Calibrate the System: Adjust the projector and reflective surfaces to ensure the images are clear and properly aligned.
By following these steps, you can create a compelling 3D holographic display that appears to float in mid-air.
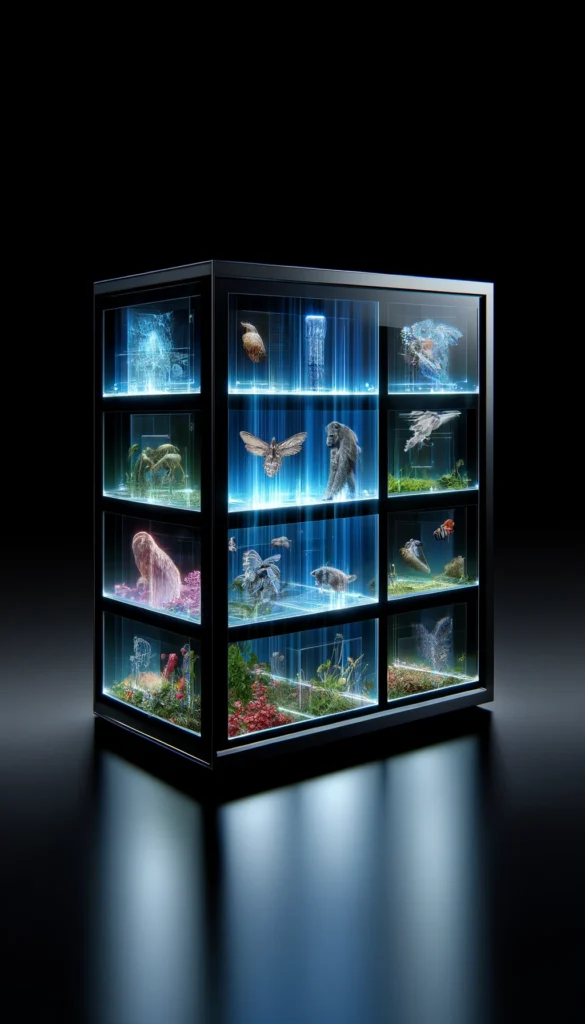
Building a 1 Meter 3D Holographic Display Cabinet in a Flat Site
Building a 1-meter 3D holographic display cabinet requires careful planning and precise execution. This section will guide you through the construction process, ensuring your cabinet is both functional and visually appealing.
Construction Steps:
- Materials Selection: Choose materials that are durable and aesthetically pleasing. Common choices include acrylic, glass, and metal.
- Frame Construction: Build a sturdy frame to support the projector and reflective surfaces.
- Projector Mounting: Securely mount the holographic projector inside the cabinet, ensuring it is stable and properly aligned.
- Reflective Surface Installation: Install the transparent screens or mirrors at the required angles to reflect the projected images effectively.
- Wiring and Connections: Set up the necessary wiring and connections for the projector and software.
Tips for Success:
- Precision: Ensure all components are precisely aligned to achieve the best visual effect.
- Ventilation: Incorporate proper ventilation to prevent overheating of electronic components.
- Aesthetic Design: Consider the overall look of the cabinet to ensure it complements your venue’s décor.
Selecting the Best Equipment and Suppliers
Choosing the right equipment and suppliers is crucial for the success of your 3D hologram display cabinet. High-quality components ensure reliability and superior visual effects.
Equipment Considerations:
- Projector Quality: Select projectors with high resolution and brightness.
- Reflective Materials: Use high-quality acrylic or glass for clear and sharp reflections.
- Control Software: Opt for software that offers flexibility and ease of use.
Recommended Suppliers:
- Epson: Known for high-quality projectors.
- Hologram USA: Specializes in holographic display technology.
- Holo-Gauze: Provides innovative holographic projection materials.
By partnering with reputable suppliers, you can ensure your project uses the best available technology and materials.
Budgeting and Ordering Your Equipment
Proper budgeting and planning are essential for the successful implementation of a 3D hologram display cabinet. Consider all costs involved, including equipment, materials, installation, and maintenance.
Budgeting Tips:
- Research Prices: Compare prices from different suppliers to get the best deals.
- Plan for Maintenance: Include ongoing costs for maintenance and software updates.
- Look for Bundles: Some suppliers offer packages that include multiple components at a discounted price.
Ordering Tips:
- Detailed List: Make a detailed list of all the components and materials needed.
- Bulk Orders: Consider bulk ordering to save on costs.
- Supplier Negotiation: Negotiate with suppliers for the best price and terms.
By carefully budgeting and planning your purchases, you can ensure your project stays within budget and is completed on time.
The best software depends on your specific needs, but popular options include TouchDesigner and MadMapper for their versatility and robust features.
Costs can vary widely based on the equipment and customization level, ranging from a few thousand dollars for basic setups to significantly more for advanced installations.
Reputable suppliers like Epson, Hologram USA, and Holo-Gauze offer high-quality holographic projection systems suitable for immersive displays.