Which LED Floor Grid Tile Manufacturer should you choose, and what criteria really matter? 🧭
Choosing the right LED Floor Grid Tile Manufacturer (or original maker) determines how durable, serviceable, and scalable your installation will be.
Key selection criteria:
- Structural durability: Tempered, anti-scratch lenses (≥8–10 mm), anti-slip textures, and impact ratings fit for jumping activities.
- Sensor fidelity: Accurate detection at low and high impact, with adjustable thresholds for kids vs. adult play.
- Thermal & power design: Efficient drivers, stable power supply, and cable management that prevents heat pockets.
- Ingress protection: Dust/moisture resistance for long life in busy venues.
- Serviceability: Quick-release tile design, front/top service to reduce downtime.
- Control system & SDK: A robust controller with open APIs/SDK for interactive LED floor grid game software development.
- Compliance & warranty: Safety certifications, spares, and a clearly defined RMA process.
- Total delivered price: Include freight, import duties, spare tiles, and training; ask for a formal order quote.
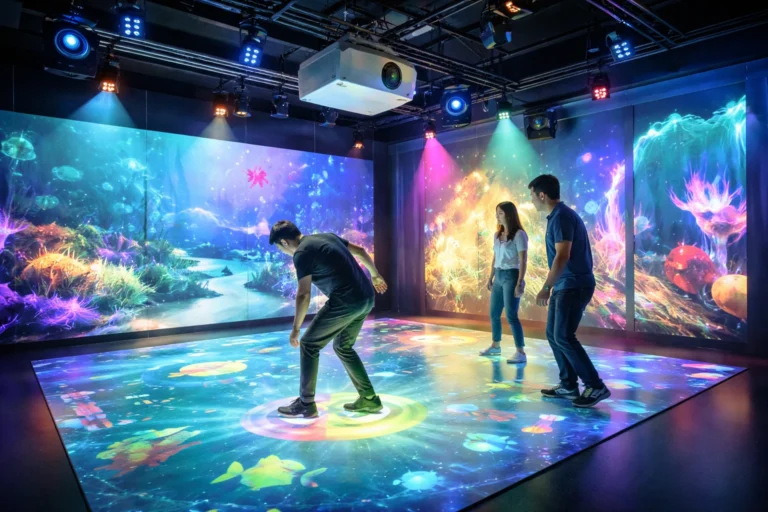
What installation solutions for floor grid touch screens actually work on site? 🔧
When planning Installation Solutions for Floor Grid Touch Screens, break the project into four layers:
- Subfloor & leveling
- Use a reinforced, level foundation with load-bearing specs exceeding your anticipated peak (jumping!) loads.
- Add shock-absorbing underlayment where appropriate to reduce vibration and fatigue.
- Power & data layout
- Calculate total wattage and allocate dedicated circuits; provide surge protection and clean grounding.
- Route data (Cat6/Cat6a) in cable trays or underfloor raceways; color-code for easy service.
- Tile grid & edging
- Dry-fit the entire grid, then place tiles with alignment guides.
- Install chamfered edge ramps and ADA-compliant transitions for safety and accessibility.
- Controller + server rack
- Rack-mount controllers in a ventilated cabinet; provide UPS and temperature monitoring.
- Label every port; store a laminated network diagram on the cabinet door (future you will thank you).
Commissioning checklist ✅
- Sensor calibration for single-tap, multi-tap, slide, jump.
- Latency validation (<50–100 ms preferred for competitive game play).
- Uniform brightness and color balance across the grid.
- Failover tests: hot-swap a tile; simulate controller reboot.

How do you approach interactive LED floor grid game software development without surprises? 💻
Interactive LED Floor Grid Game Software Development is most successful when you treat it as a product lifecycle, not a one-off app.
Core architecture:
- Input layer: Sensor fusion (pressure/IR/radar) + de-bounce logic to filter mis-touches.
- Game engine: Real-time state machine for timers, hit zones, combos, and team logic.
- Renderer: GPU-accelerated pixel maps to the grid with gamma correction and edge anti-aliasing.
- Networking: Local server for leaderboard, APIs for content packs, and remote diagnostics.
- Content pipeline: JSON/YAML scene definitions and sprite atlases so designers can push updates without engineers.
Feature must-haves:
- Attract mode (looped animation to pull players in).
- Difficulty curves and age modes (kids, teens, adults).
- Team jumping logic (synchronized jumps, relays, co-op scoring).
- Operator dashboard (start/stop, session price, time control, usage stats).
- Monetization hooks (RFID bands, QR pay, POS triggers in your store).
- A/B testing for the latest level designs and the best retention.
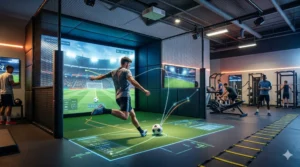
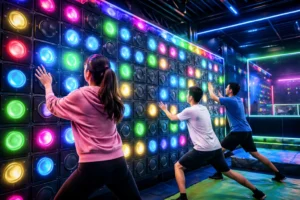
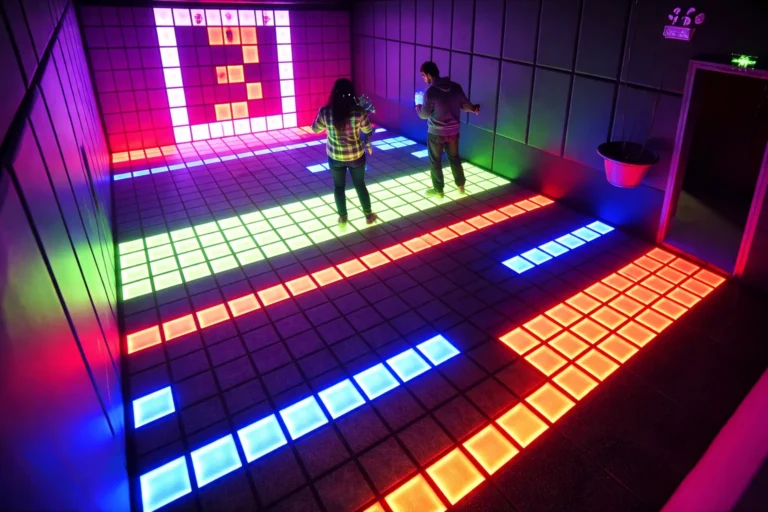
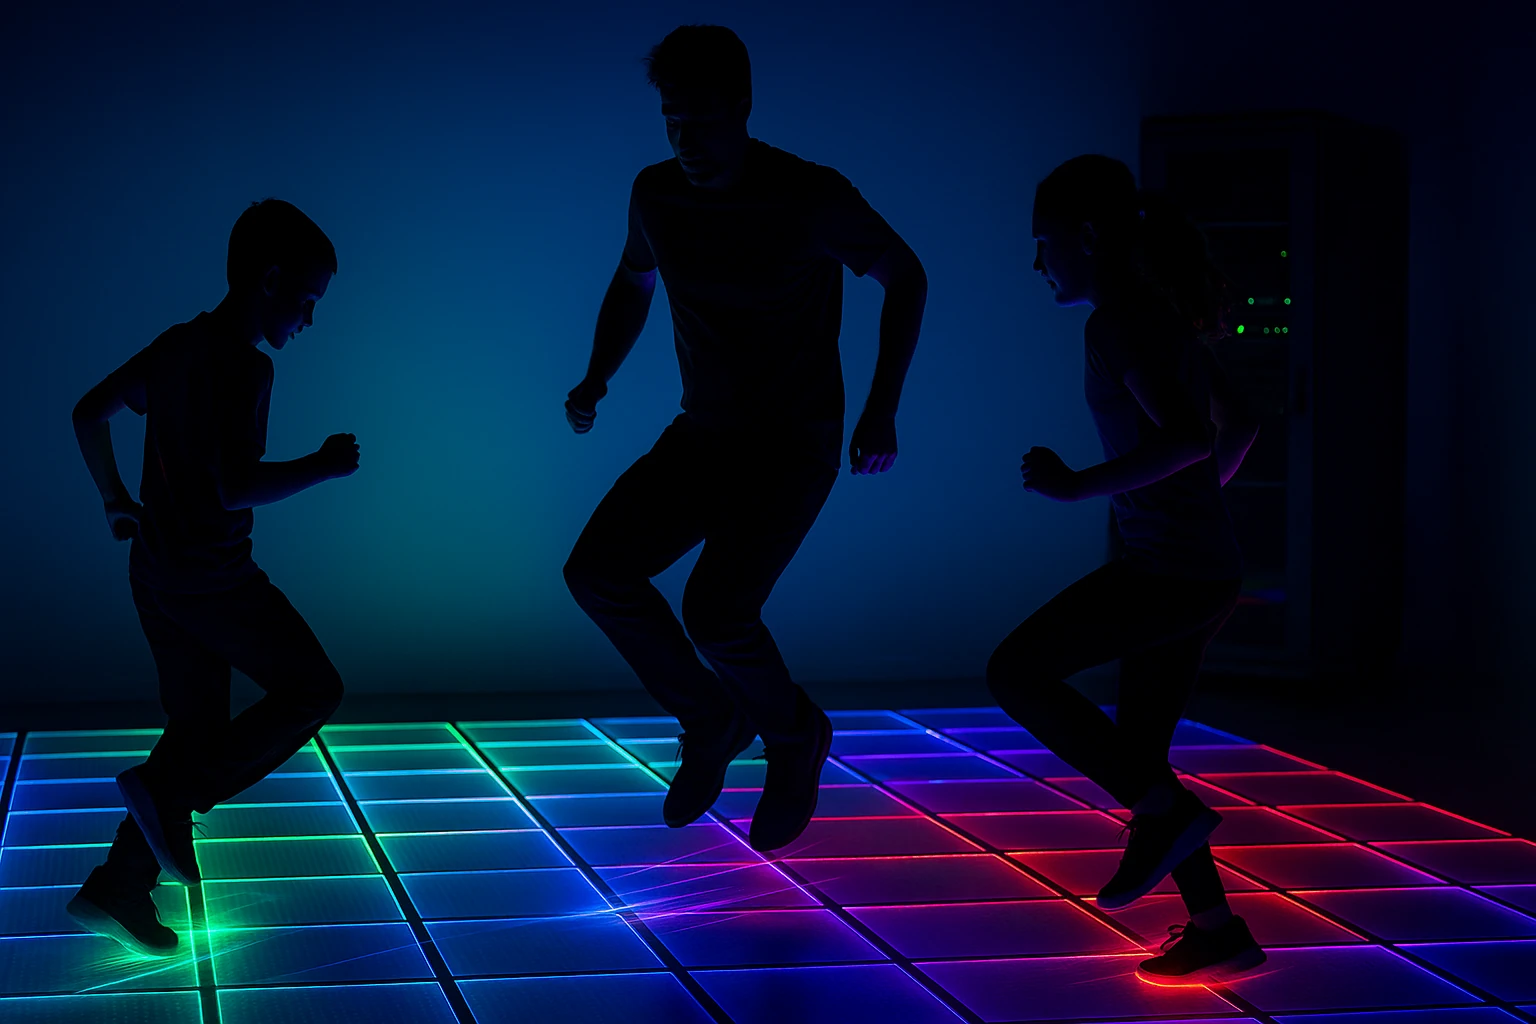
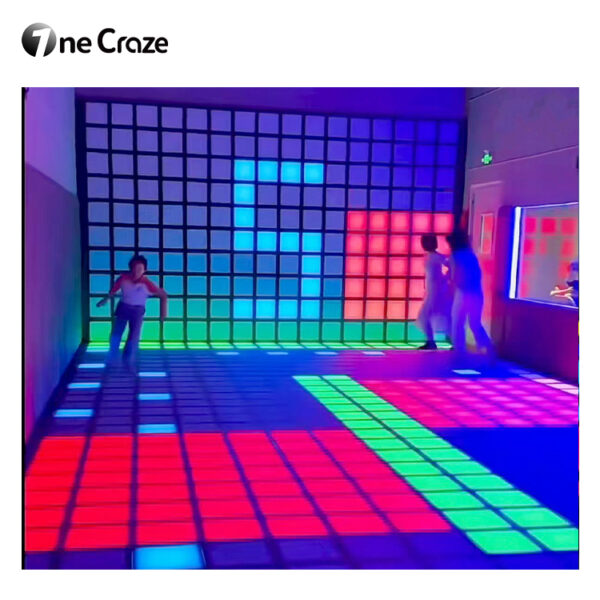
How do you design a high-throughput team jumping game room that feels safe and epic? 🏟️
Designing Team Jumping Game Room Design Solutions is a balance of capacity, safety, and hype.
Room layout & flow:
- Stage the grid centrally with 1–1.5 m buffer zones on all sides.
- Provide spectator vantage points and a photo wall for instant social sharing.
- Use directional lighting that doesn’t wash out LED visuals; add acoustic panels to tame crowd noise.
Capacity & timing:
- Target 6–12 players per session for team modes.
- Run 3–5 minute sessions with clear countdowns and a leaderboard reveal to keep cycles moving.
Safety & signage:
- Non-slip shoes encouraged 👟; no sharp heels.
- Clear rules: “No diving, no sliding on knees,” hydration station nearby.
- Staff training for crowd management and quick tile checks.
Branding & upsells:
- Theme the UI and edge lighting with onecraze colors.
- Offer buy-able merch (wristbands, team badges) and session photo prints.
- Add “Pro Night” tournaments—the company can promote the latest updates and limited-time software skins.
What are the real differences between installation approaches, and which one should you order? 📊
| Approach | What It Is | Pros ✅ | Cons ❌ | Best For |
|---|---|---|---|---|
| Flush-mount (recessed) | Tiles sit level with finished floor in a recessed frame | Sleek look; minimal trip edges; quiet cable runs | Higher build cost; requires precise civil works | New builds, premium venues |
| Raised platform | Tiles mount on modular risers with ramped edges | Fast deployment; easy service access; relocatable | Visible ramps; step-up height to manage | Retrofits, events, rentals |
| Hybrid segmented | Core area recessed, expansion wings on risers | Scalability; pilot-to-permanent path | Mixed look if finishes differ | Pilot programs, phased rollouts |
What common pitfalls derail projects, and how can you avoid them? 🚧
- Skipping mock-ups: Always stage a 3×3 or 4×4 test grid to validate load, latency, and color uniformity.
- Under-spec power: Don’t daisy-chain beyond recommended tile counts; avoid voltage sag under peak loads.
- Weak edge transitions: Poor ramps cause trips. Use ADA-compliant metal or high-density rubber edging.
- No maintenance plan: Schedule lens cleaning, sensor recalibration, and tile rotation (high-traffic hotspots wear faster).
- Content stagnation: Plan monthly content updates. A content “season pass” keeps the store calendar exciting.
- Unclear operator UI: Train staff on the operator dashboard—session timing, game switching, and safety stops.
What’s the simplest way to get started with onecraze? 🚀
- Step 1 — Discovery call: Share venue drawings, target capacity, and brand kit.
- Step 2 — Demo grid: Evaluate tile quality, latency, and software features hands-on.
- Step 3 — Proposal & order: Receive a line-item proposal with price, schedule, and training.
- Step 4 — Install & launch: We deliver the best-fit installation solutions for floor grid touch screens and commission your attraction.
- Step 5 — Content cadence: Quarterly “theme drops” to keep your attraction the hottest in town.
👉 Visit onecrazemedia.com to explore packages, compare options, and buy content upgrades or request a custom quote from our supplier/manufacturer network.
Small platforms (e.g., 16–25 tiles) often take 2–4 days after site prep; larger grids may need 1–2 weeks, including commissioning and staff training.
Closed-toe, non-slip sneakers. Avoid high heels or hard-edged shoes to protect lenses and ensure traction.
Yes. The operator dashboard can hook into POS, QR payments, and RFID—let guests buy multi-play passes or team packages in your store.
Through the content pipeline: upload new software packs, select them in the operator UI, set difficulty, and go live. Content scheduling keeps your latest lineup fresh.
The controller isolates the fault; staff can hot-swap a tile after the session. Keep spares stocked to maintain uptime.
Typical coverage is 12–24 months on tiles and controllers with optional extensions; we provide remote diagnostics and on-site service tiers.
Consider hardware amortization, staffing, utilities, and average occupancy. Many venues target a 6–10-minute cycle with tiered price points for groups.