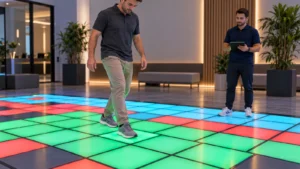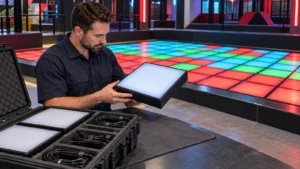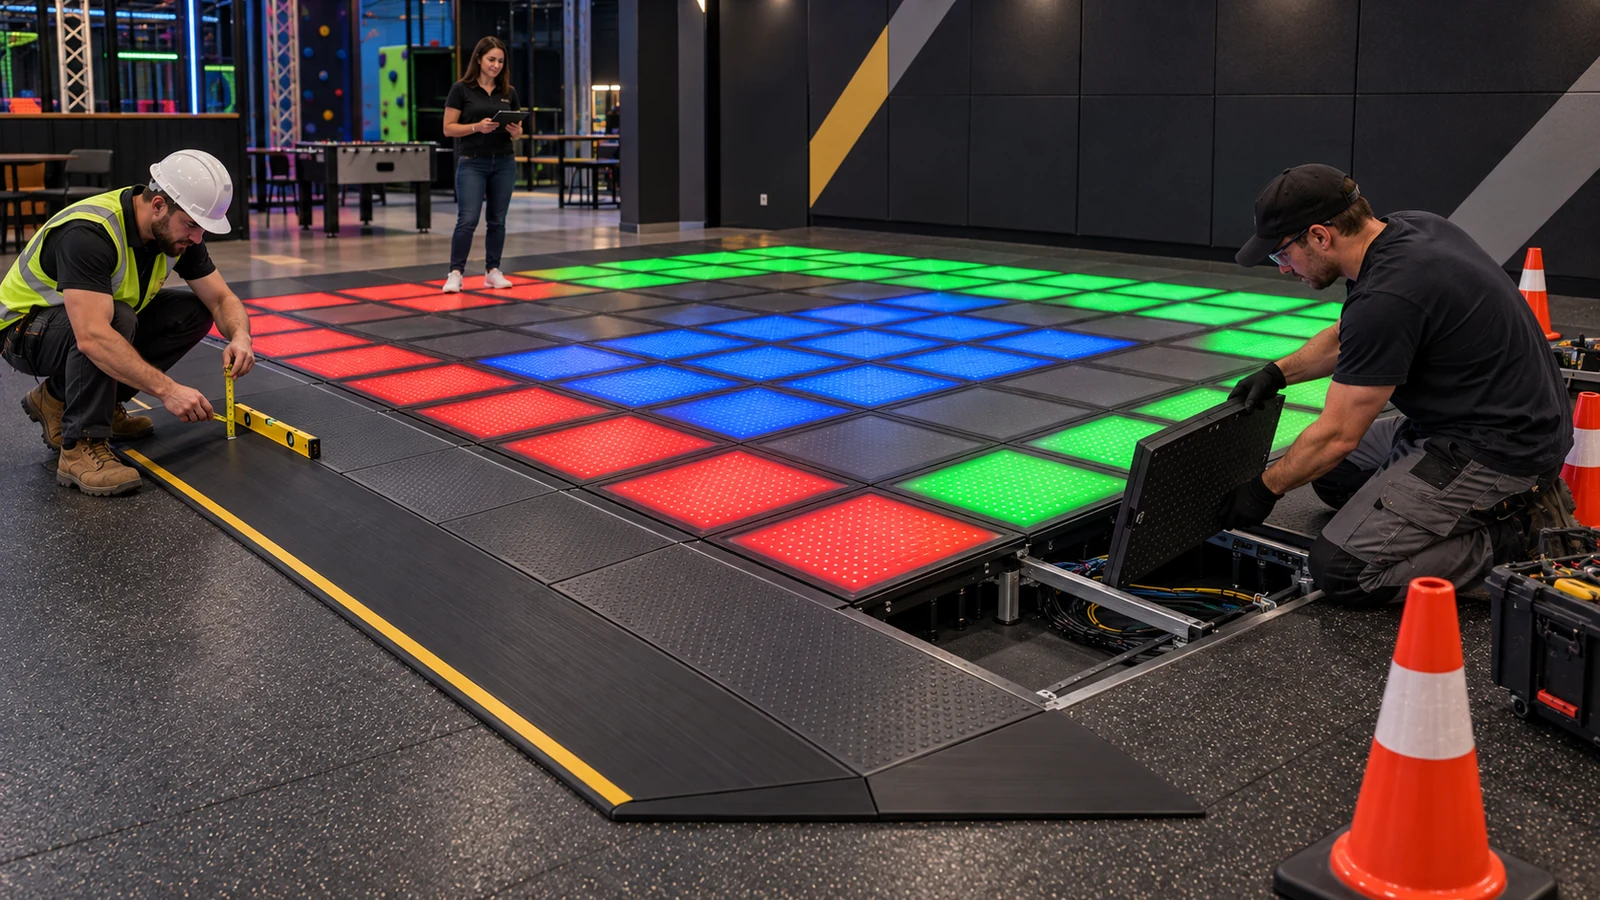
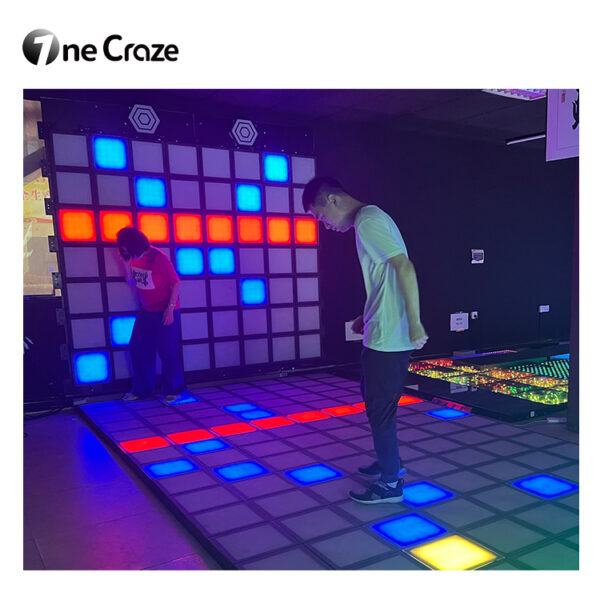
For example, the current OneCraze Floor Is Lava LED grid game lists 300 × 300 × 75 mm modules. A 75 mm-high module is not a minor floor-finish difference. The project team must show how players enter the active grid and how the raised perimeter meets the surrounding room. This article explains the main options without treating one detail as a universal building solution.
Does the LED Game Need a Raised Floor?
It needs a stable support level for the complete grid, but that support does not always have to be a traditional raised-access floor. The correct build-up depends on whether the game is going into an existing leased unit, a new permanent attraction or a modular event installation.
For a retrofit, installers often assemble the LED grid on top of the finished structural floor. The modules and any support frame then form a raised game platform. This method avoids cutting the slab, can simplify future removal and gives technicians access to power and data routes. Nevertheless, it also creates a height difference that the layout must resolve.
For a new permanent room, the architect may design a recessed pit or surrounding floor build-up so the LED surface finishes close to the adjacent floor. A flush transition can improve circulation and appearance, but it requires earlier coordination. The pit dimensions, drainage risk, ventilation, cable entry and module-removal method must all match the supplier’s drawings.
| Installation method | Main advantage | Main limitation | Suitable starting application |
|---|---|---|---|
| Surface-mounted platform with edge transitions | Fast retrofit and easier removal | Adds height and consumes room around the grid | Existing FEC, trampoline park or leased unit |
| Recessed, near-flush installation | Clean transition and permanent appearance | Requires construction coordination and service planning | New-build or major renovation |
| Raised platform inside a controlled room | Exposed edges can be kept away from public circulation | Entry, exit and supervision still need careful design | Mission room or ticketed challenge room |
| Temporary modular platform | Can support events or short-term installations | Setup, leveling and cable protection must be repeated | Rental, exhibition or pop-up activation |
Before choosing, compare the complete room rather than the tile price. The OneCraze guide to a commercial Floor Is Lava game room explains player capacity, tile specifications and game modes, while the 100–300 m² active game center layout guide helps buyers reserve circulation and support space around the attraction.
When Does a Floor Is Lava Game Need Edge Ramps?
A surface-mounted grid normally needs an engineered transition wherever players, staff or visitors can approach the raised edge. The transition does more than make the installation look finished. It reduces abrupt level changes, protects tile corners, keeps shoes away from cables and directs entry toward the intended starting position.
However, “edge ramp” should not mean a thin decorative strip supplied without dimensions. The final design needs to consider the module height, available horizontal run, player movement, wheelchair route, cleaning equipment and the surrounding floor. A steep trim may protect the tile but still create a trip point or interfere with rapid entry and exit.
For U.S. projects, the U.S. Access Board’s ADA Standards explain that changes in level greater than 13 mm on an accessible route must be treated as a ramp or curb ramp and that accessible surfaces must meet applicable firmness, stability and slip-resistance requirements. Those figures should not be copied automatically into every international project: destination-country rules, the attraction’s classification and the approved route must be confirmed by the local architect or authority.
Similarly, OSHA’s Walking-Working Surfaces requirements are relevant to U.S. employee areas, not a universal global design certificate. Their emphasis on keeping walking-working surfaces free from hazards supports a practical point: the installation should not leave loose panels, protruding fixings, unprotected cable openings or unexpected edges in staff routes.
An effective perimeter detail should therefore:
- Remain fixed under repeated entry, jumping and cleaning
- Use a slip-resistant finish appropriate for the venue
- Avoid sharp corners, exposed fasteners and pinch points
- Contrast sufficiently with the surrounding floor where required
- Keep the transition outside active LED cells and scoring zones
- Allow technicians to remove the correct service panels
- Protect power and data routes without trapping heat or moisture
- Preserve the required entrance, exit and emergency route
What Must Be Planned Below and Around the LED Tiles?
Start with the subfloor. It must be flat enough for the modules or support frame to sit without rocking, twisting or creating uneven joints. The project engineer should also verify that the existing slab and any supporting structure can carry the complete system and expected dynamic use. Do not infer load capacity from the appearance of one tile; request the manufacturer’s verified load and support requirements.
Next, plan power and data routes so that cables are protected but replaceable. Avoid permanent finishes that force technicians to remove the entire grid to reach one connector. Label circuits, controllers and tile positions, and keep the electrical isolation point accessible to trained staff. Where heat-producing equipment sits below or beside the platform, follow the supplied ventilation clearances instead of sealing every cavity for appearance.
Moisture also changes the design. A commercial LED game floor should not be treated like a conventional waterproof floor unless the exact system has documented protection for that use. Keep drink service and wet cleaning away from openings, define an approved cleaning procedure and prevent water from collecting in a recessed pit. The quotation should identify the available IP information rather than describing the entire installation as waterproof without supporting test reports.
Finally, plan module replacement. Ask the supplier to demonstrate how a center tile and an edge tile are removed, disconnected, replaced and recalibrated. Keep spare tiles, sensors, cables, power components and required lifting tools on site. These details are particularly important for a self-service interactive LED floor game, because a small physical fault should not leave an unattended room operating unpredictably.
How Should Entry, Exit and Player Flow Be Designed?
Players focus on changing colors, safe cells and timers; they do not continuously watch the room perimeter. Therefore, the physical layout should make the correct path obvious before the round begins. Use one clearly defined entrance, a briefing or waiting position outside the active grid and an exit that does not cross the next group’s route.
The platform transition should not become part of the challenge unless the system was specifically designed and tested that way. Keep waiting guests, bags and loose balls away from the ramp, and prevent spectators from standing where they can step backward onto an exposed edge. Moreover, staff must be able to reach the emergency stop and help a player without crossing energized game cells unnecessarily.
For multiplayer use, test the complete route with the maximum approved group. A platform may be wide enough for six active players but still create congestion when the same six players enter, receive instructions and leave at once. The sport-themed entertainment center equipment guide provides additional planning questions for mixing LED floors with wall games, basketball systems and other active attractions.
What Should Buyers Send the Supplier and Request in the Quotation?
| Buyer should provide | Supplier should return |
|---|---|
| Clear room length, width and finished ceiling height | Dimensioned LED grid and complete operating footprint |
| Existing floor build-up and slab information | Module, frame and finished platform heights |
| Doors, exits, columns and public circulation routes | Entry, exit and perimeter-transition drawing |
| Available electrical supply and cable-entry position | Connected load, circuit schedule and isolation requirements |
| Expected players, ages and operating hours | Approved capacity and operating conditions |
| Cleaning method and risk of drinks or moisture | Cleaning, liquid-response and shutdown instructions |
| Required accessibility route and destination country | Information needed by the local architect or authority |
| Service access and spare-parts preference | Tile-removal method, access panels and recommended spares |
The quotation should separate LED hardware from local construction. It should state whether OneCraze supplies the support frame, perimeter trim, ramps, control cabinet, cables, spare modules and installation drawings, and whether the venue contractor supplies the pit, surrounding floor, barriers and electrical work. Buyers comparing several offers can use the OneCraze interactive system quotation guide and adapt its line-item method to LED-floor projects.
Before shipment, request a documented test of the complete grid, including every tile, multiplayer stepping, game reset, emergency stop and continuous operation. The OneCraze factory acceptance test guide provides a useful structure even though the final checklist must be revised for LED tiles and platform components.
To obtain a project-specific layout, contact OneCraze with your room dimensions, floor construction, destination country, preferred grid size and expected player count. OneCraze can then identify the product scope and coordinate the information your local designer needs for the supporting floor, transition and service access.
Do not assume so. Request the exact IP and test information for the supplied modules and controller, then follow the approved cleaning procedure. Recessed installations also need a plan that prevents liquid from collecting below the tiles.