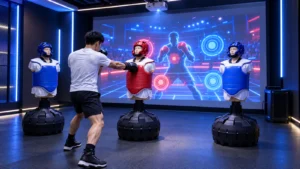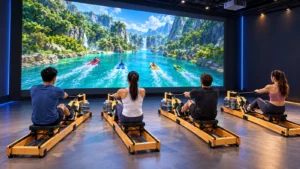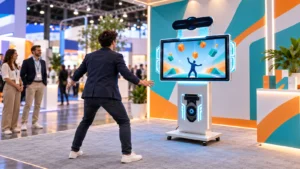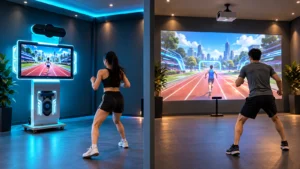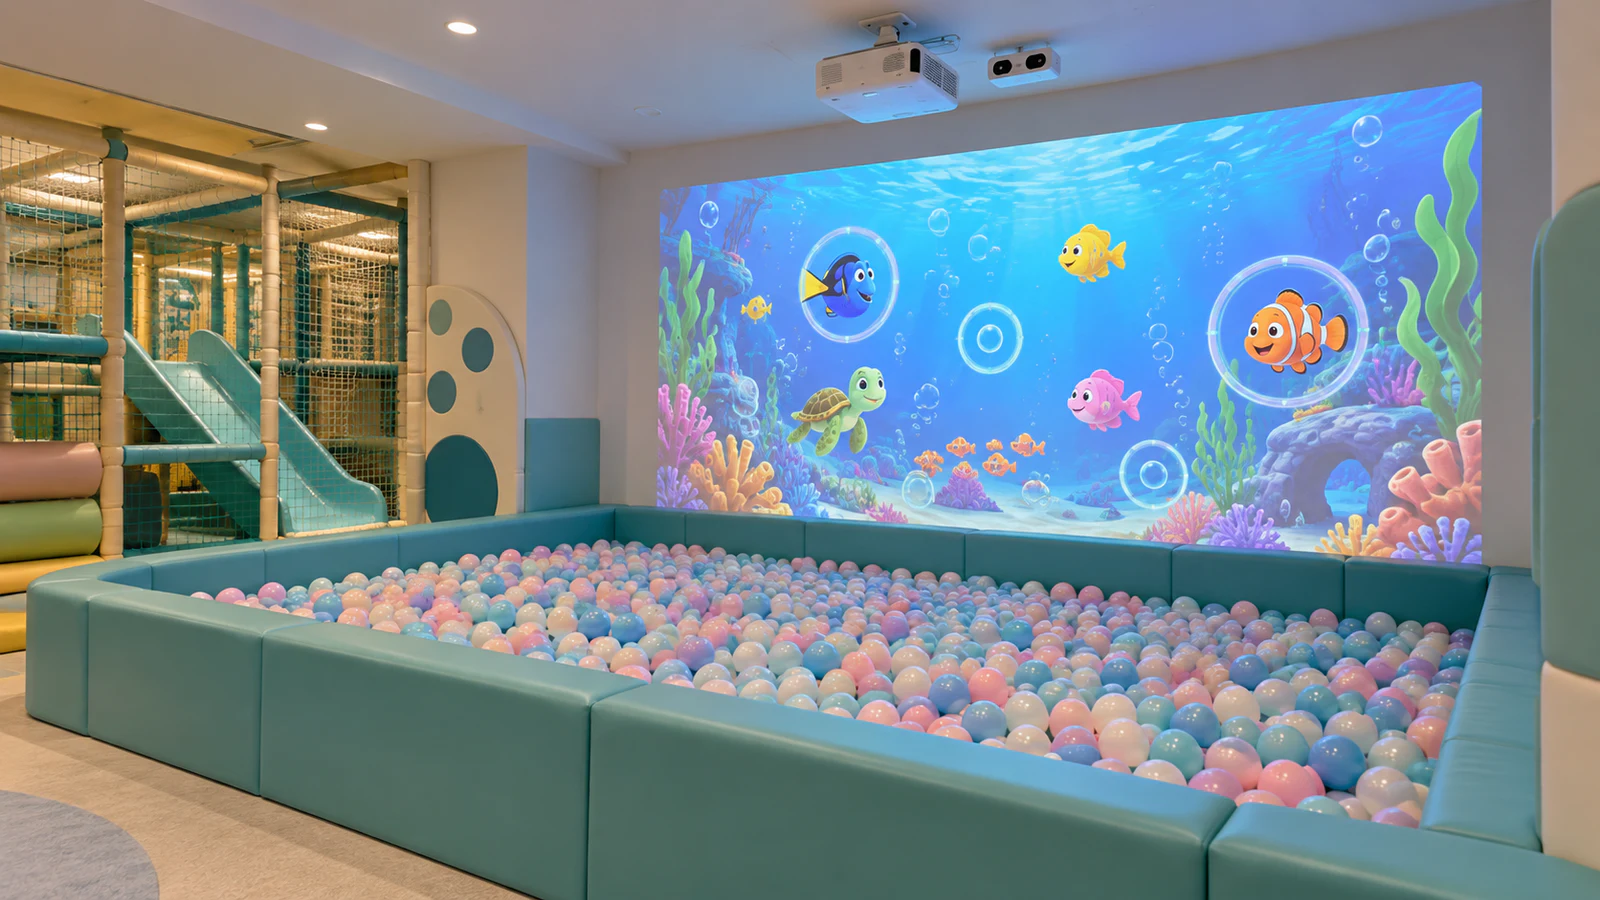
The OneCraze Smash Ball Interactive Projection system uses plastic balls to interact with projected wall games. For an existing indoor playground, this provides a product option to evaluate. The first step is to determine what the venue can retain and what the digital upgrade requires.
What Can You Keep From the Existing Ball Pit?
Start with the physical attraction. Ask the project team to inspect the enclosure, padding, entry points, adjacent activities and proposed throwing direction. An existing ball pit that works for general play does not automatically provide a suitable layout for target-throwing games.
The enclosure, balls and surrounding finishes may remain if their condition and specifications suit the proposed use. Nevertheless, the upgrade could require a new wall facing, protected cable routes, mounting supports or changes to the player area. Avoid assuming that “retrofit” means no construction.
During the site review, identify:
- Facilities to retain, subject to condition and compatibility checks.
- Surfaces or structures that require alteration.
- Equipment positions that remain accessible for servicing.
- Play routes that conflict with throwing, queueing or supervision.
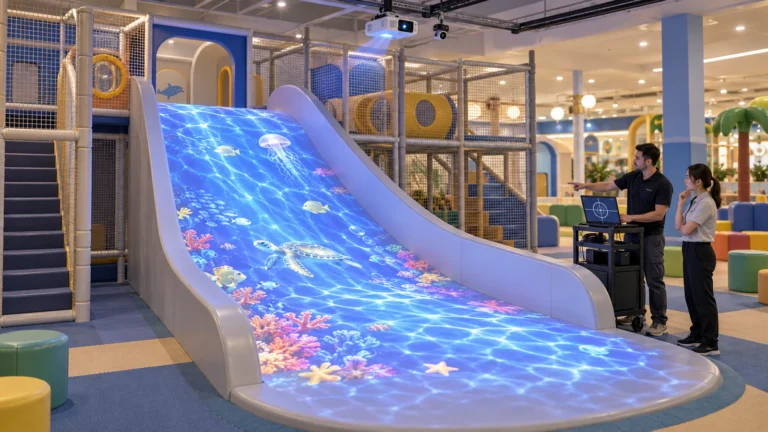
If a slide empties into the same pool, assess that shared space before adding a target wall. The interactive slide retrofit guide covers a related upgrade, but combining both attractions requires its own layout review.
Should the Games Project Onto the Wall or the Balls?
For a wall-based Smash Ball installation, players aim at projected targets on a vertical surface. The ball pit supplies the surrounding play environment; the wall serves as the main target area. This distinction helps buyers request the right equipment.
Projection across loose balls creates a different display surface. A colorful animation on the pool does not prove that the system detects individual ball impacts or supports target scoring there. Therefore, specify the required interaction, not simply an “immersive ball pit.”
A useful brief might say: “Players throw approved plastic balls at wall targets, and successful hits trigger visible feedback.” If you also want floor effects or coordinated visuals on several walls, request those as a separate scope. The broader interactive ball pit projection room guide explains that larger installation format.
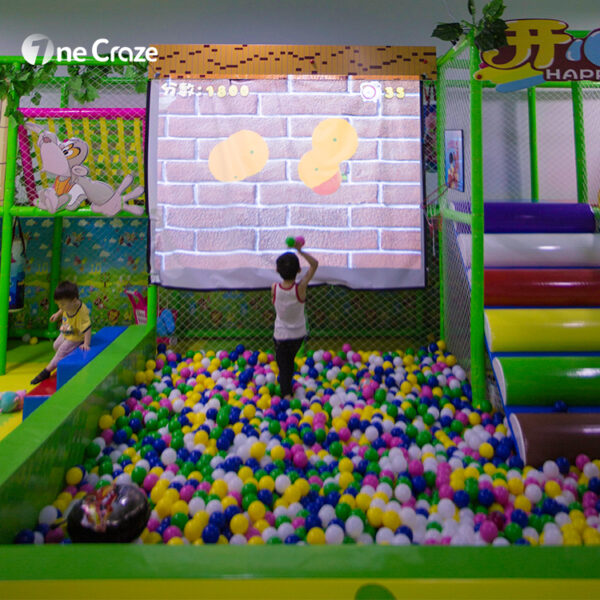
Will Your Existing Balls and Padded Wall Work?
Do not order replacement balls or rebuild the wall before testing the proposed combination. Instead, send the supplier ball dimensions, material details and photos, together with the wall finish and panel-joint information. Provide samples where practical.
OneCraze’s published Smash Ball configuration lists an infrared camera and laser sensing arrangement. That does not establish compatibility with every ball size, wall surface or room layout. Ask the supplier to demonstrate the exact proposed hardware and software with representative materials.
The ball-throwing projection wall surface guide provides a starting point for evaluating finishes. In particular, include the final padding and seams in testing rather than approving the system on an unrelated demonstration wall.
Check center and edge targets, slower throws, several players and normal venue lighting. Record missed hits and unintended triggers as well as successful attempts. For the sensor discussion, use the comparison of infrared cameras, depth sensors and LiDAR to prepare questions—not to select a technology without a site test.
What Should an Interactive Ball Pit Projection Kit Include?
A retrofit quotation should separate the digital package from alterations to the existing attraction. Otherwise, a low equipment price can leave the operator responsible for unexpected installation work.
Use the following table to compare proposals. These are items to confirm, not a standard OneCraze packing list.
| Quotation item | What to confirm | What may be separate |
|---|---|---|
| Projector and lens | Exact model, image dimensions and mounting distance | Additional projectors or protective housing |
| Sensor equipment | Models, coverage and tested ball compatibility | Extra sensing zones or revised mounts |
| Computer and controls | Specifications, operator access and recovery procedure | Control cabinet, touchscreen or remote-access setup |
| Game software | Named games, commercial license and update terms | Custom themes, languages or additional content |
| Mounts and wiring | Supplied brackets, cable lengths and routing plan | Structural supports and local electrical work |
| Wall and play-area changes | Required finish and responsibility for alterations | Padding, facing panels, enclosure changes or new balls |
| Commissioning and support | Calibration, testing, training and warranty scope | Travel, on-site labor and separately priced services |
Next, ask each supplier to mark every line as included, excluded or pending site review. The equipment quotation comparison guide explains how to compare complete project scope rather than headline prices.
What Site Information and Tests Should You Request?
Send a measured sketch showing the pool, target wall, entry, nearby slide exits and proposed equipment positions. Include wall width and height, usable ceiling height, ball depth, existing netting, lights and overhead obstructions. Photos should show the whole play area as well as close-ups of surfaces.
Then provide the target age group, proposed simultaneous player count, opening hours and available installation window. Ask the supplier to confirm image size and operational capacity for that layout. A published product footprint is not a substitute for a site drawing.
Before shipment, agree on a test using representative balls and wall materials. Adapt the factory acceptance test checklist to cover:
- Hits across the agreed target area, including corners and seams.
- Feedback and scoring during representative multiplayer use.
- Visibility under the agreed lighting conditions.
- Staff game selection, stopping, restart and recovery procedures.
Finally, repeat the relevant checks after installation. A factory demonstration cannot reproduce every site obstruction or mounting condition. Include the final settings, operator instructions and support contacts in the handover.
That is a possible project approach, subject to site assessment. Ask for a digital-equipment proposal that clearly identifies any necessary changes to the retained ball pool, wall and mounting structure.
Not automatically for a wall-target game. The wall receives the main image, but ball compatibility still needs testing with the selected sensor. Projection directly onto the balls is a separate requirement.
Possibly. Send its exact model, lens details, condition and available mounting position. The supplier should verify image coverage and visibility, then confirm compatibility with the rest of the package.